“Once a year, go someplace you’ve never been before.”
That is one of the Dalai Lama’s “18 Rules for Living,” more philosophical tips than rules on how best to live an enlightened and fulfilling life.

This is one of my favorite ideas for personal growth. I live to travel. And that has now become a huge goal of mine: each year, go someplace new.
Some years, it’s big. Two years ago, we travelled to Thailand. It had been my goal to do when I turned 30. Five months after my 30th birthday, we went for a magical two weeks that included caring for rescued elephants, sleeping on a boat with strangers in the middle of Maya Bay, drinking a lot of the most amazing iced coffee and getting massages every day for the equivalent of $10 US.
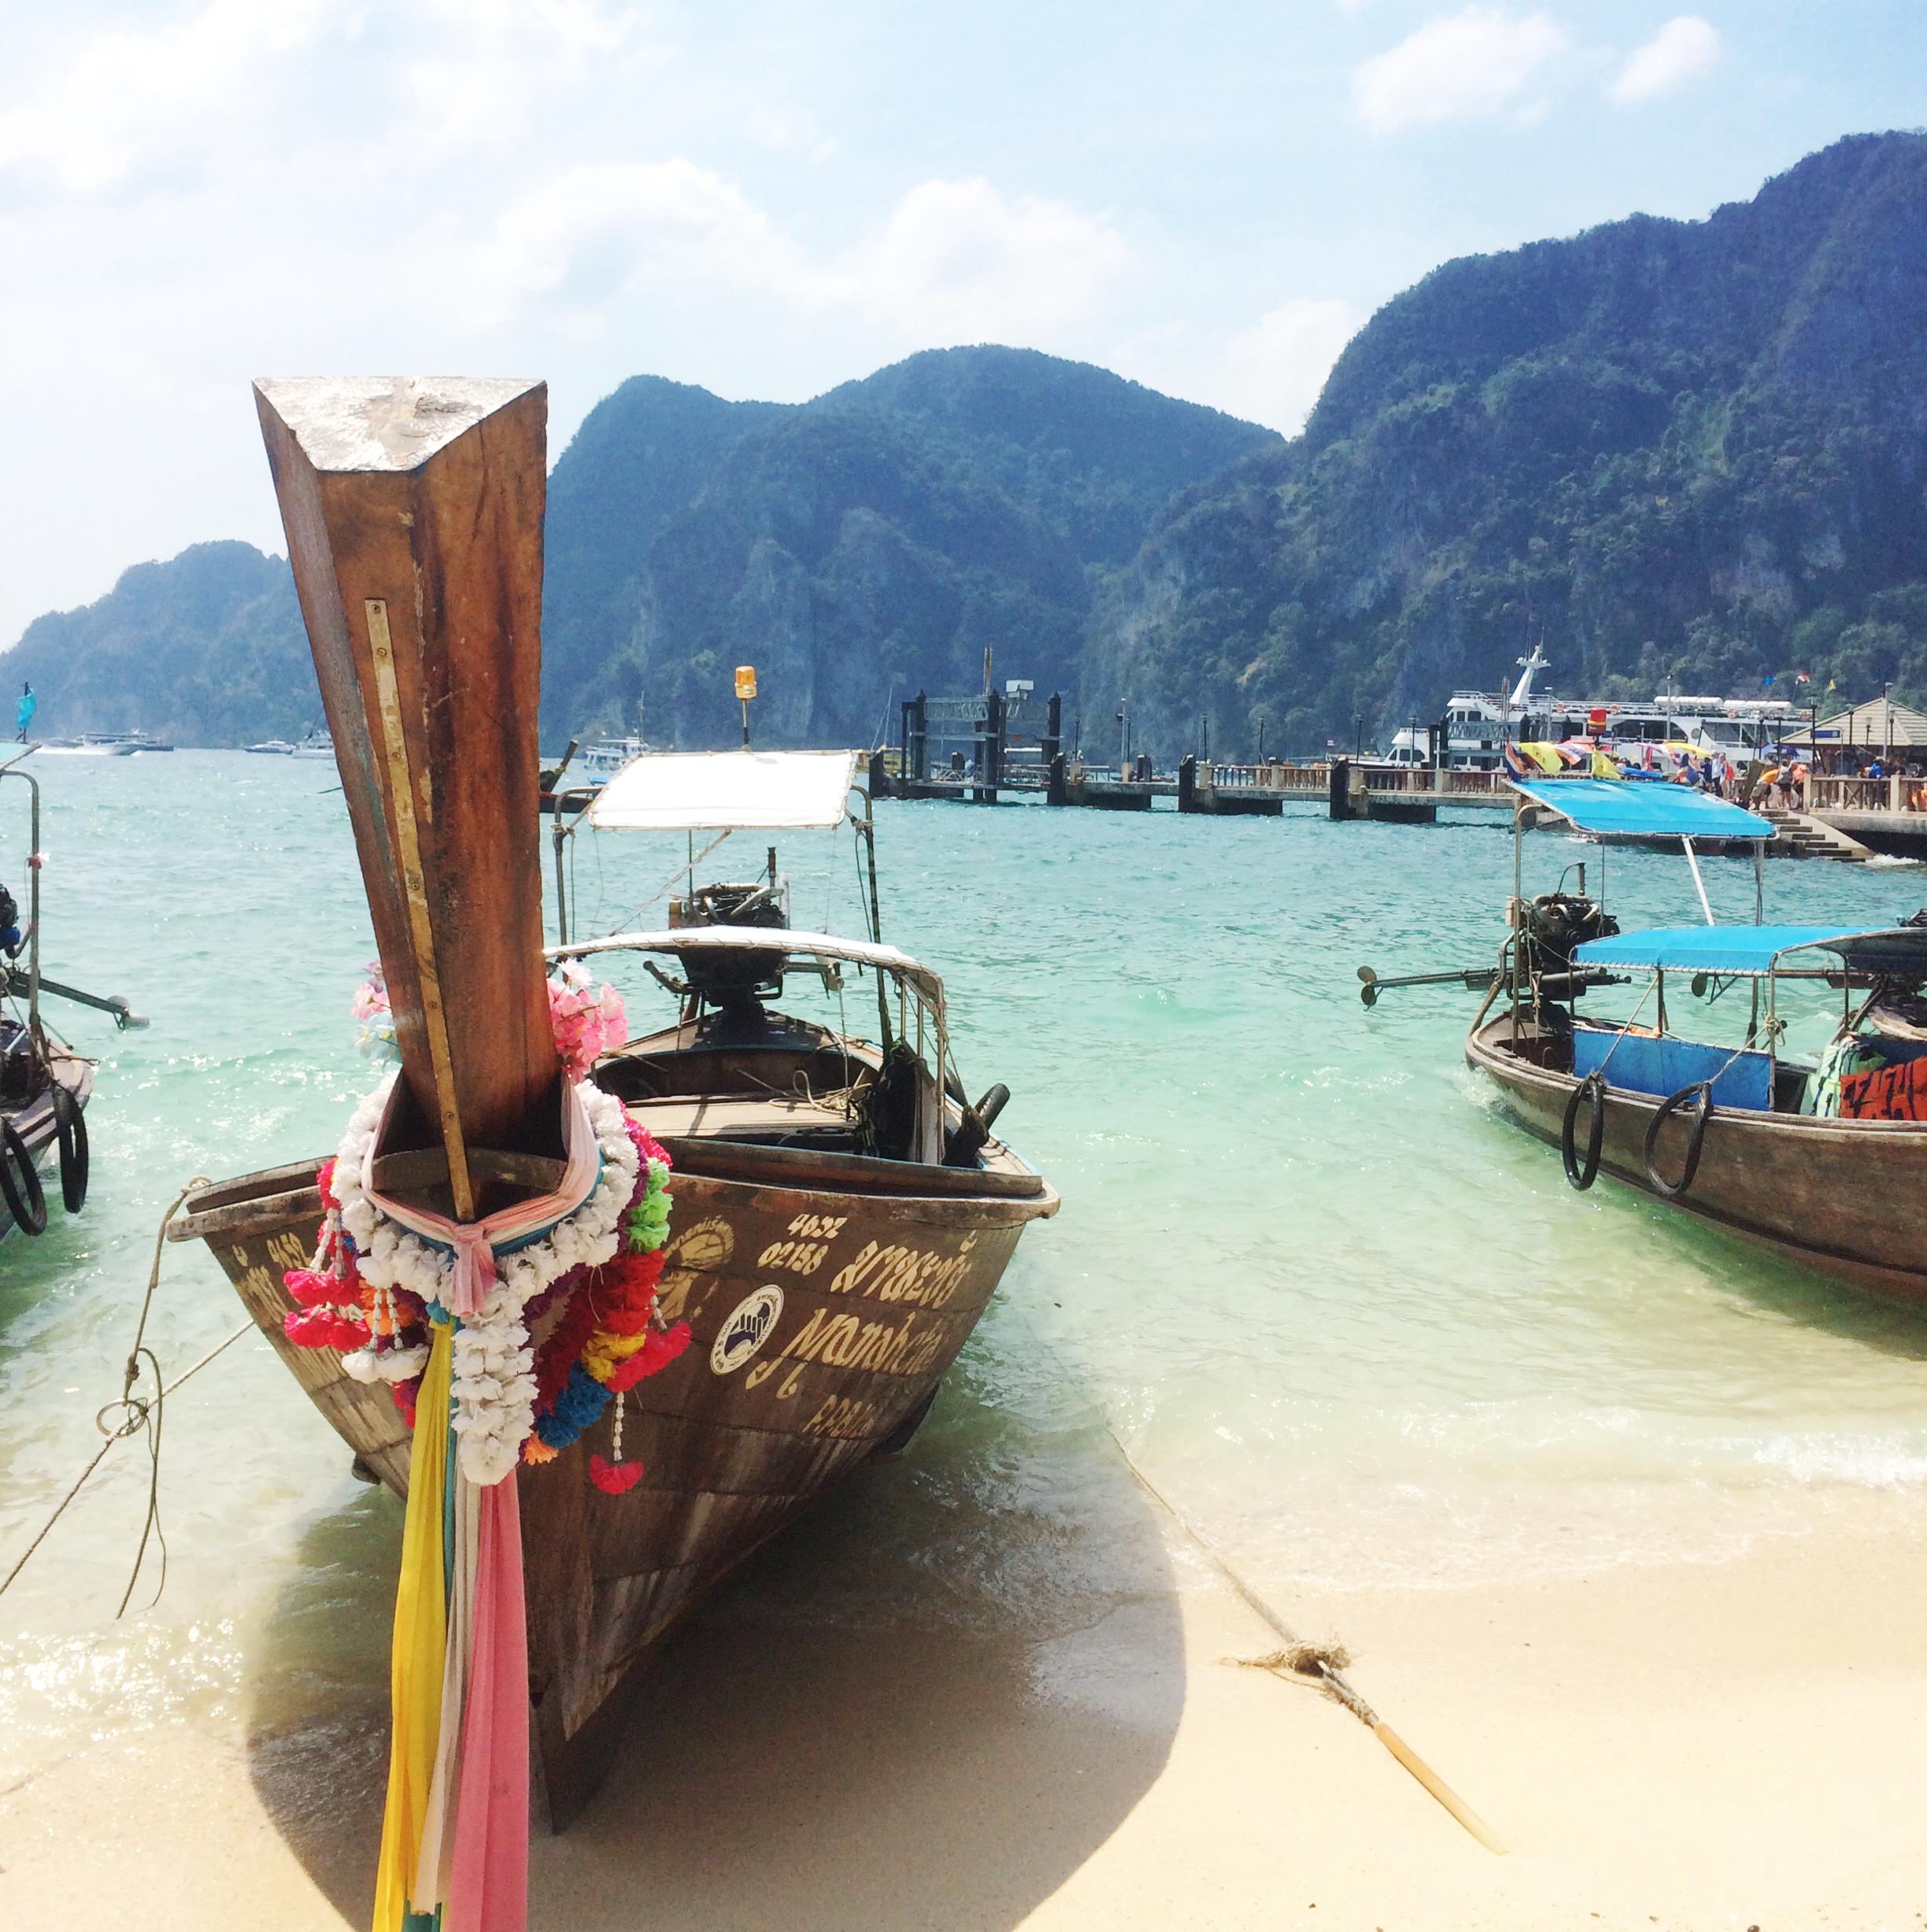
Tip: If you go to Thailand, get a massage every day. Our friends told us to do that, and it’s the best advice I’ve ever been given. Trust me!
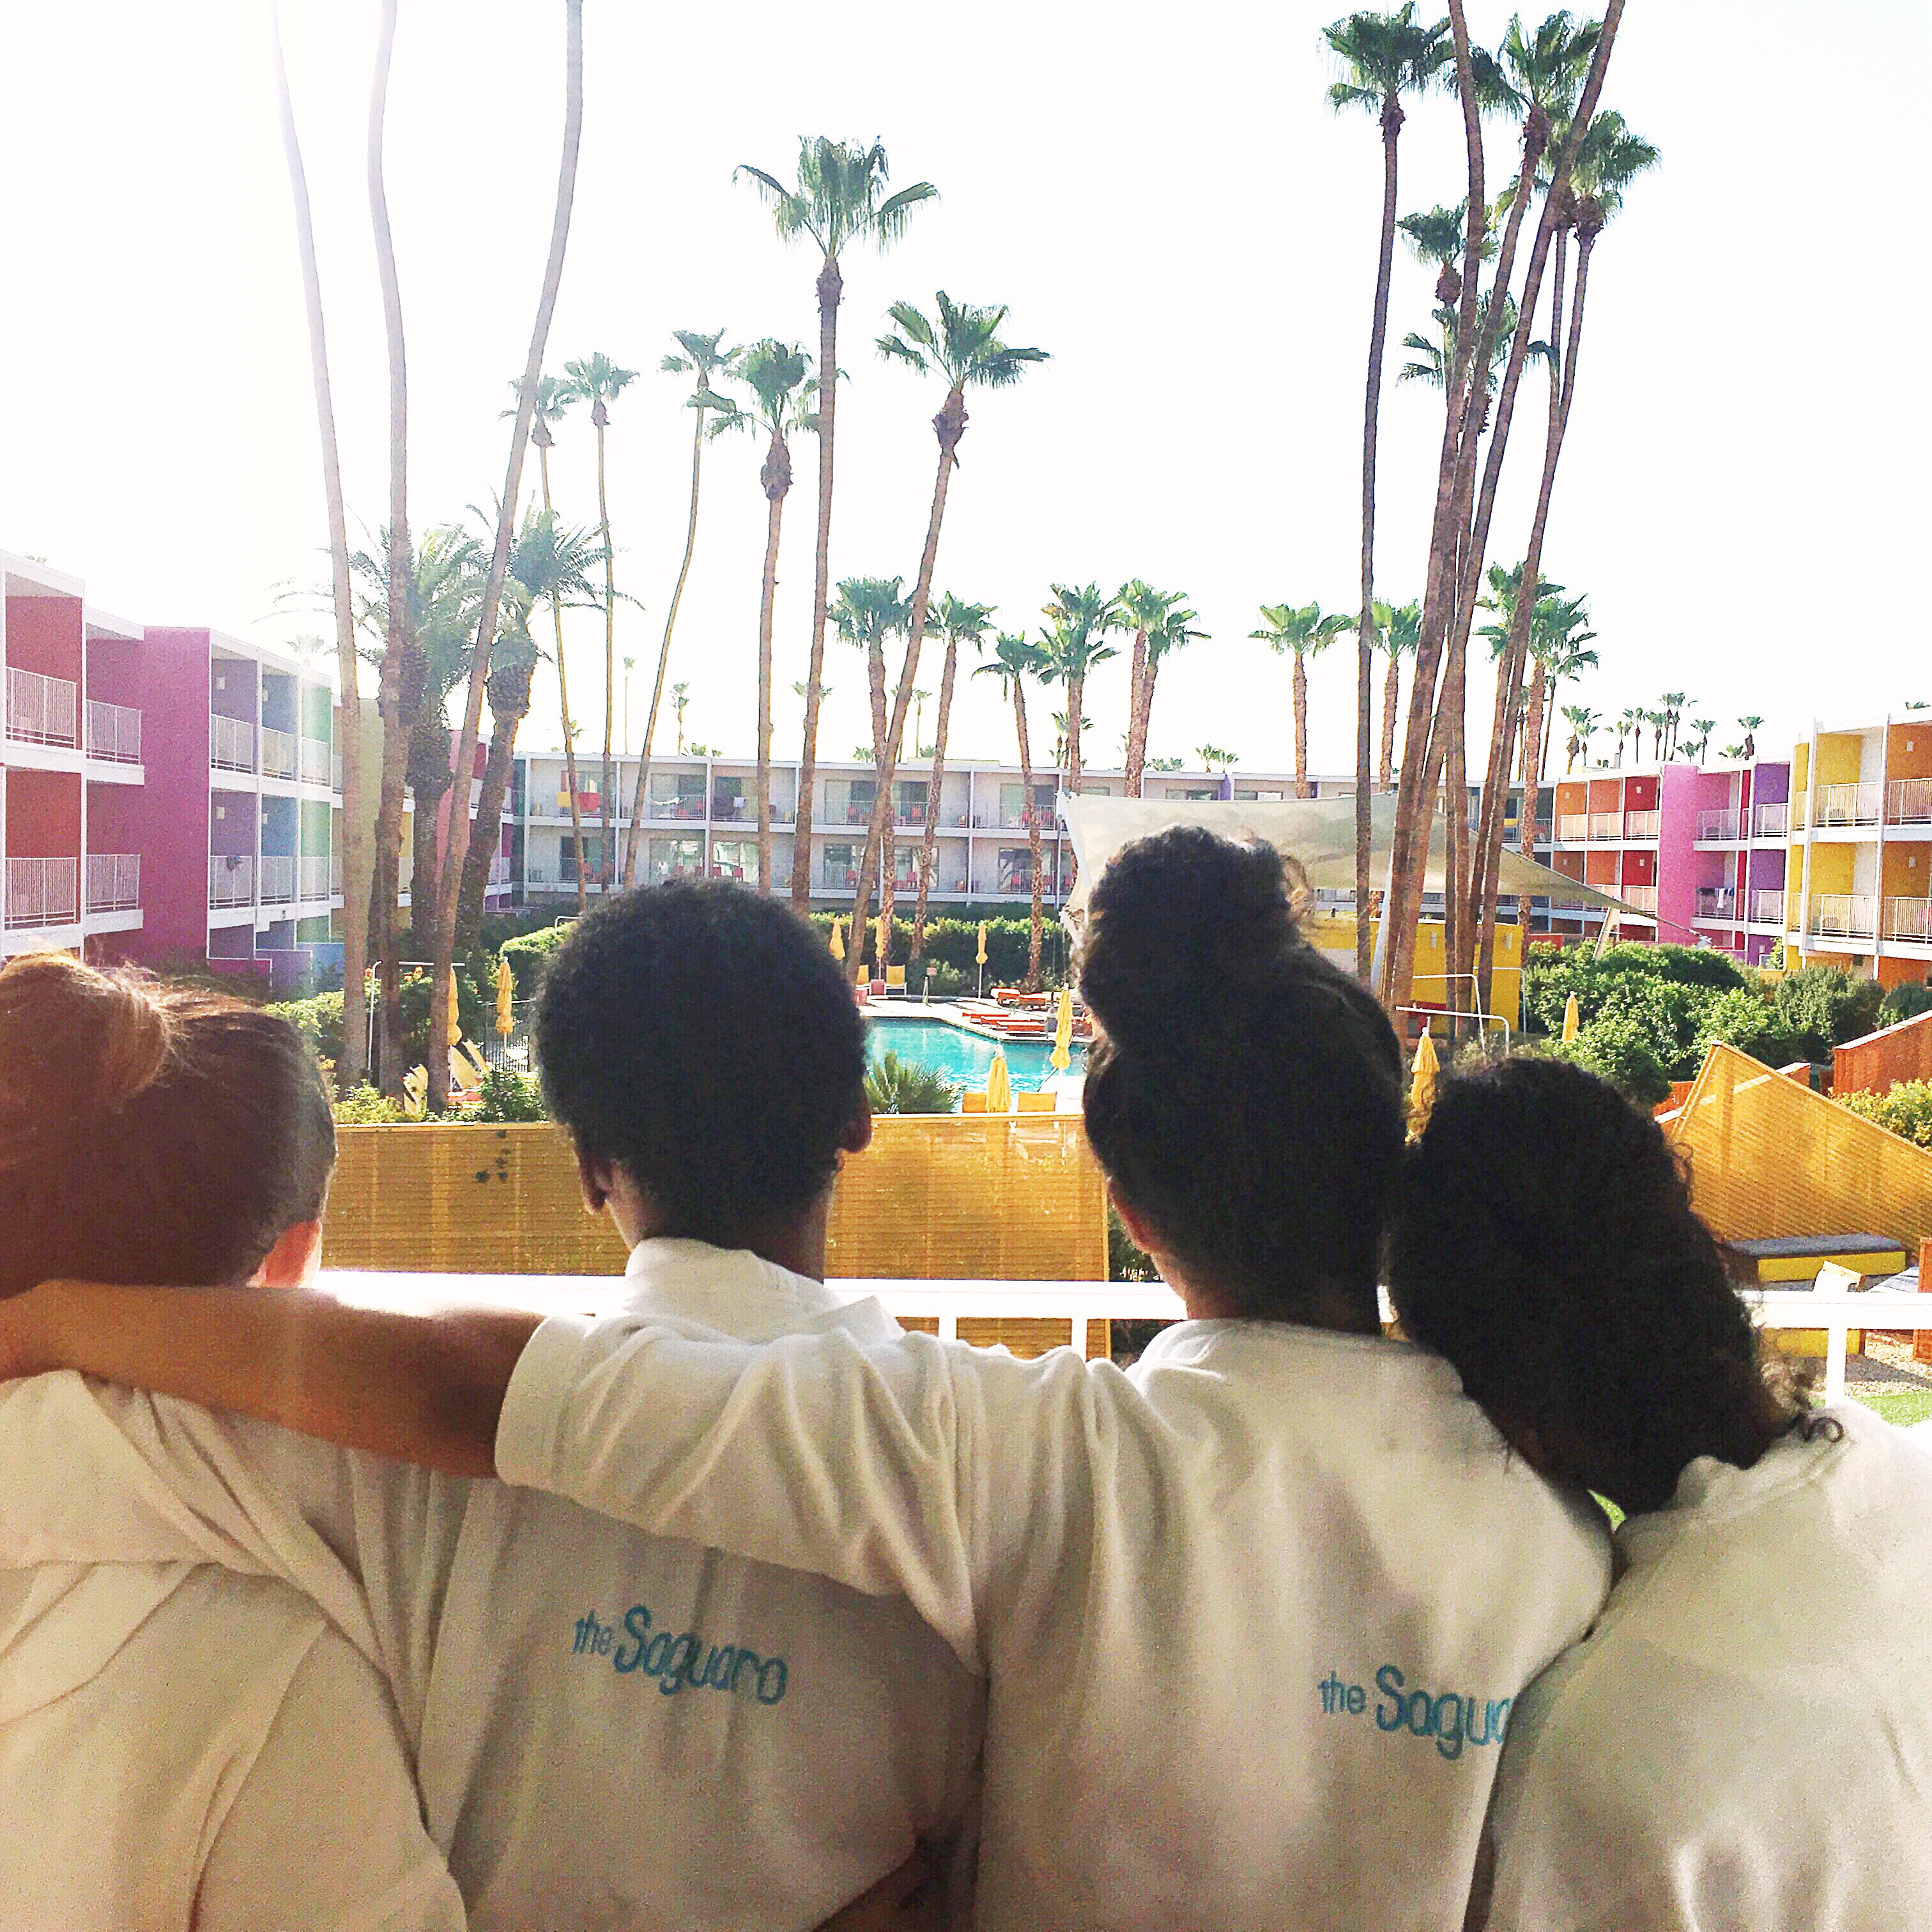
Other years, when I was saving up for those big trips, it’s been driving to a nearby US city for the weekend and crashing with three friends in one hotel room. But with each experience, I feel like I grow a little more, and I love that feeling of learning and exploring the world around me.
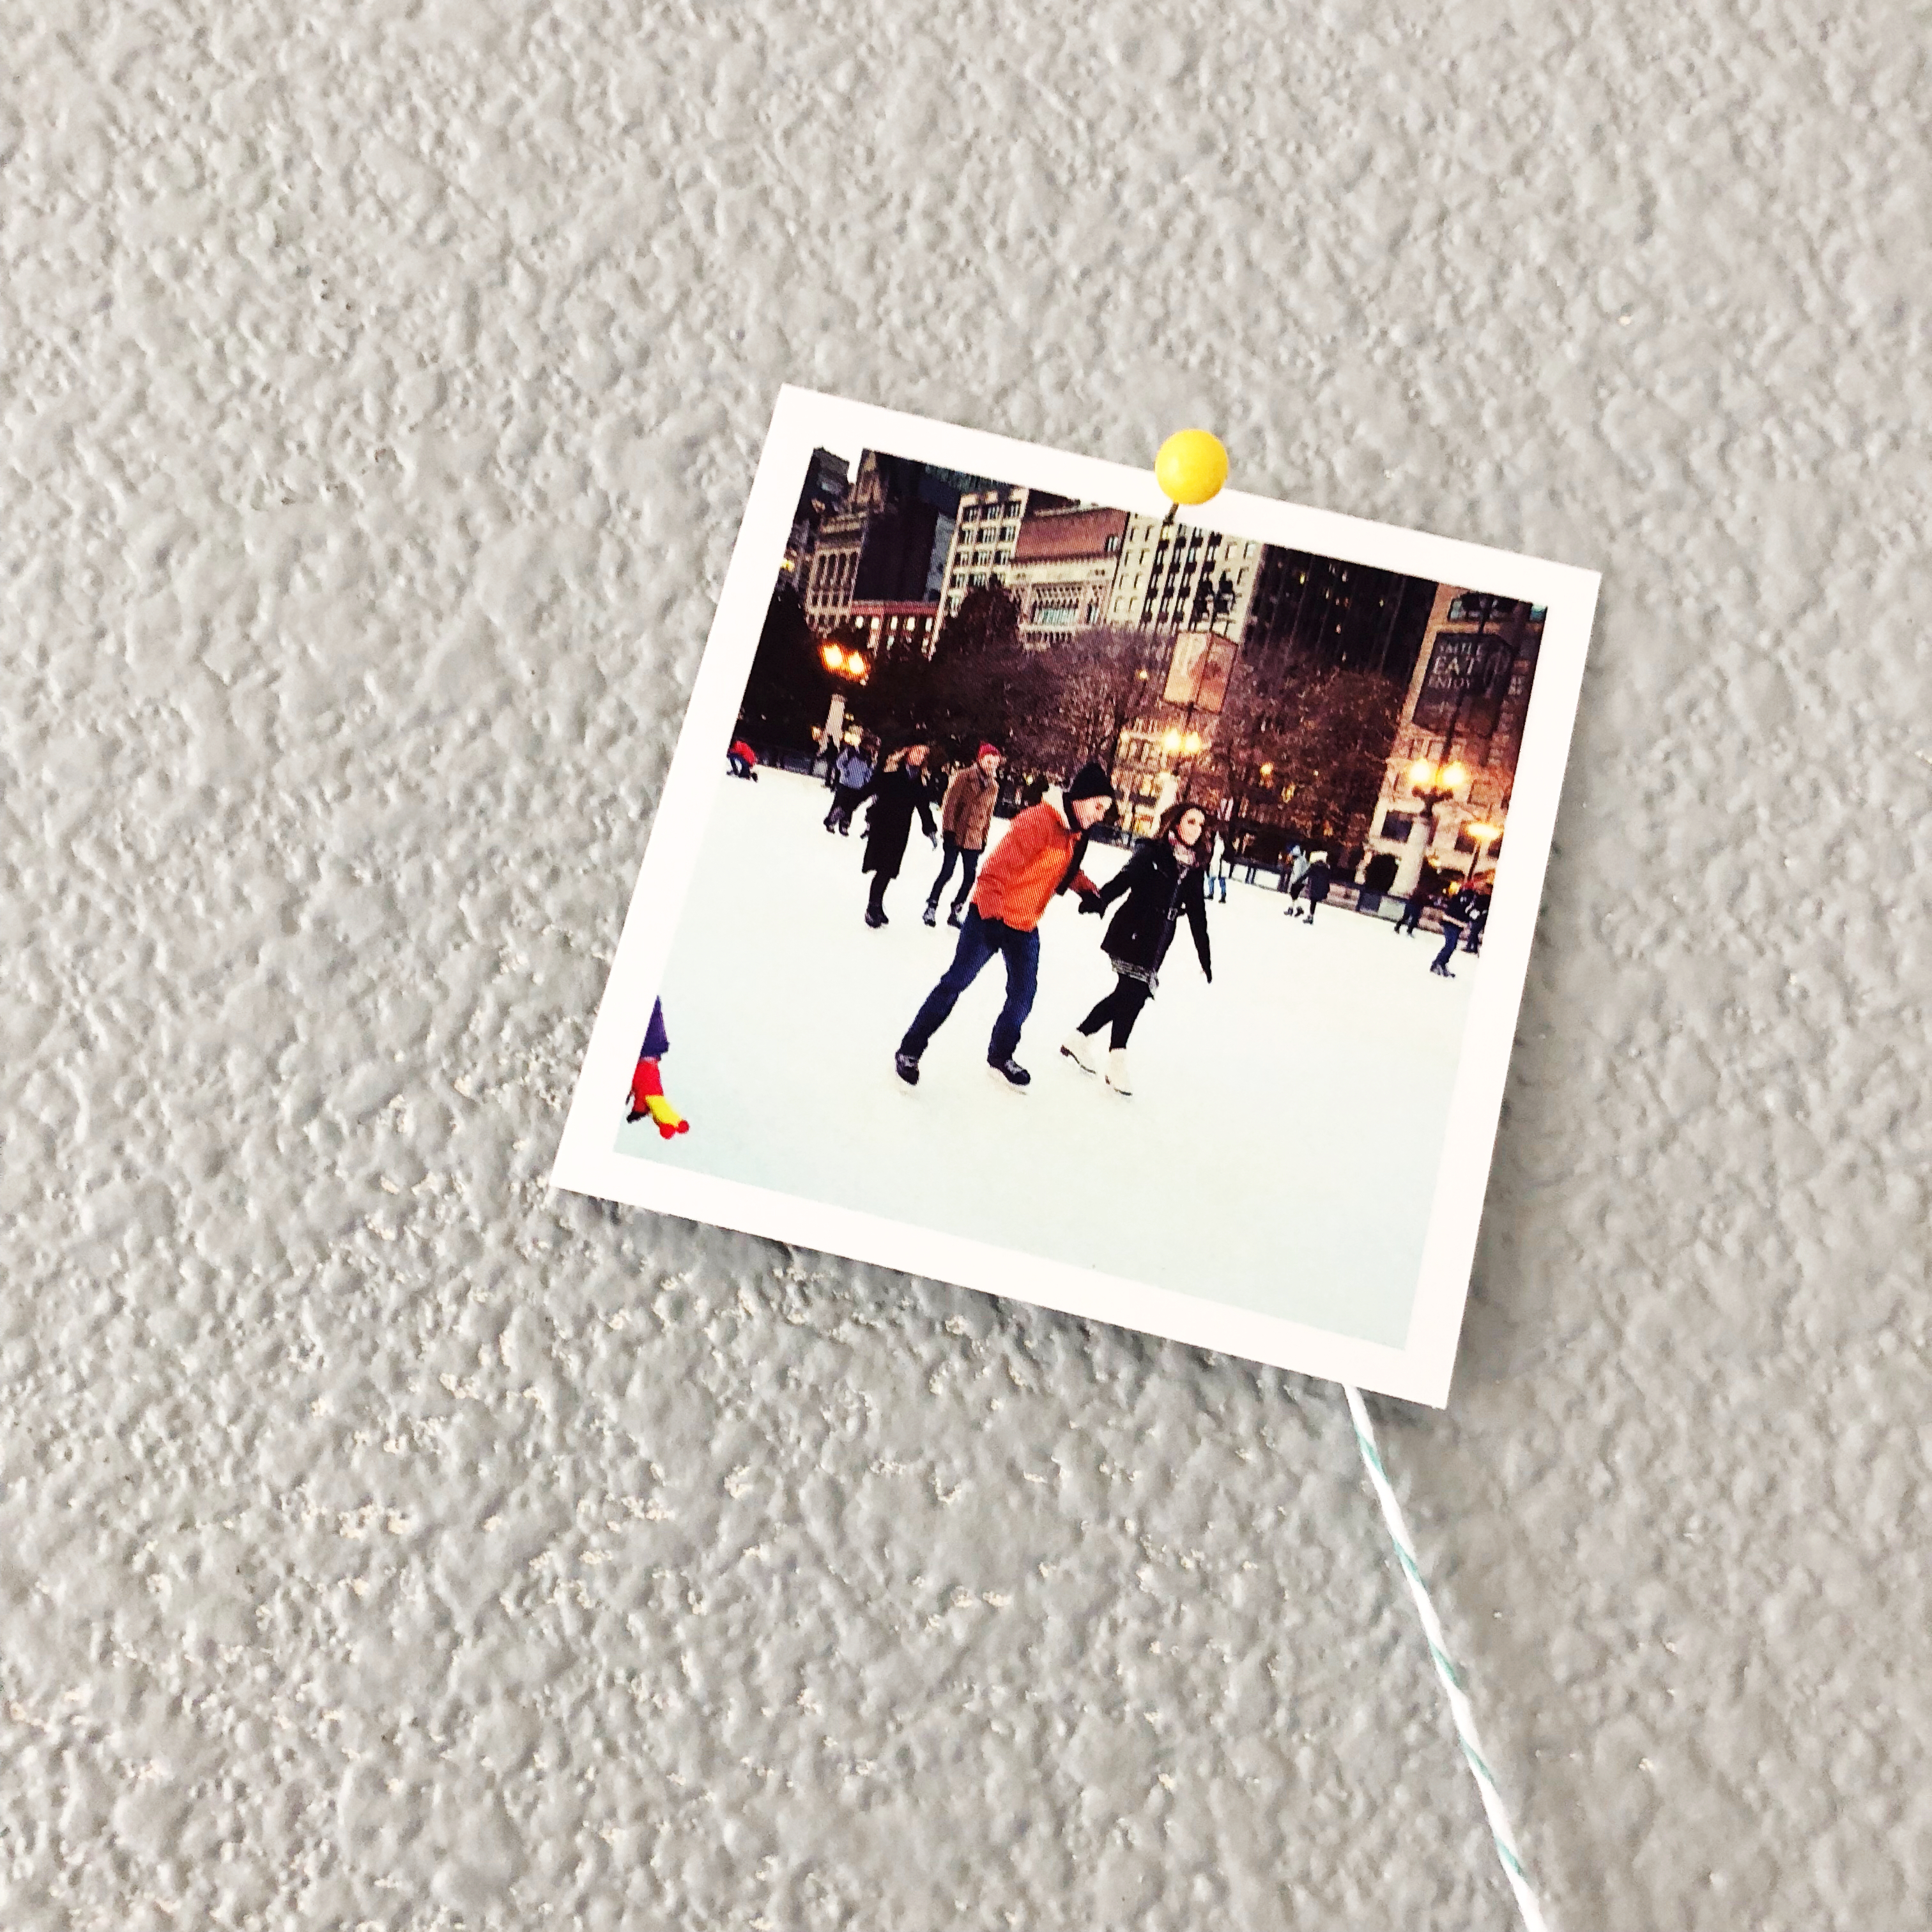
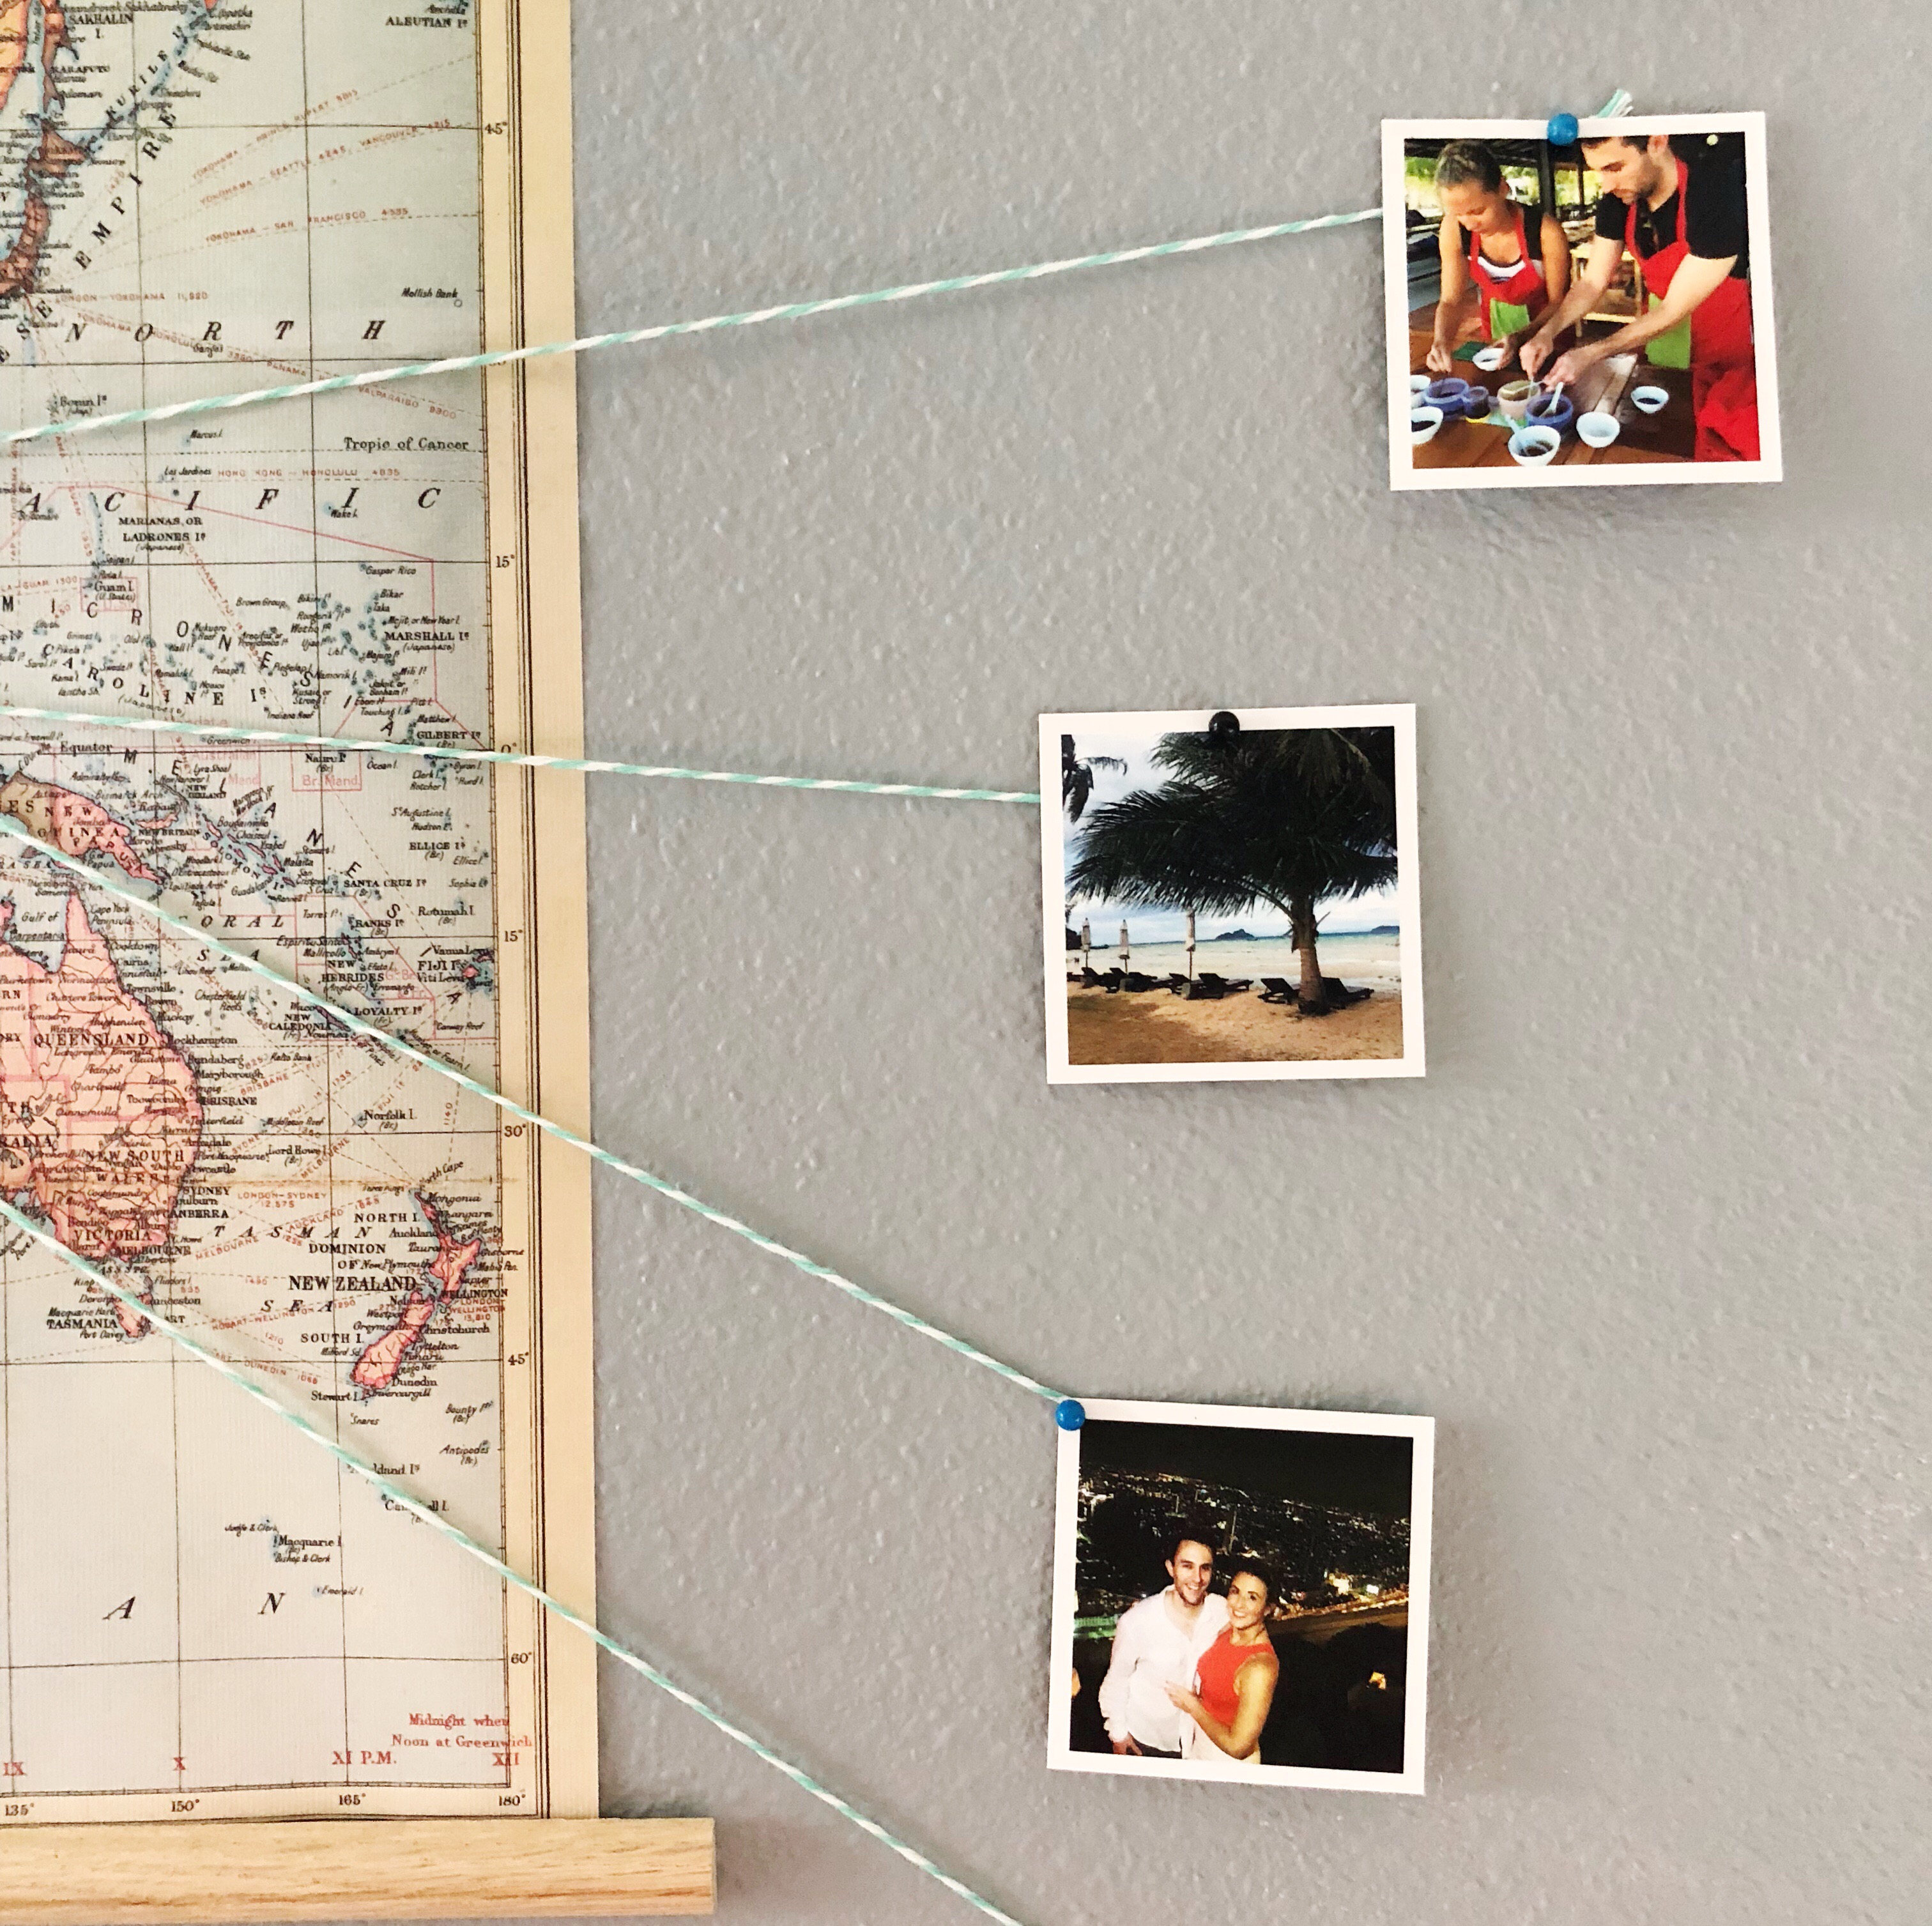
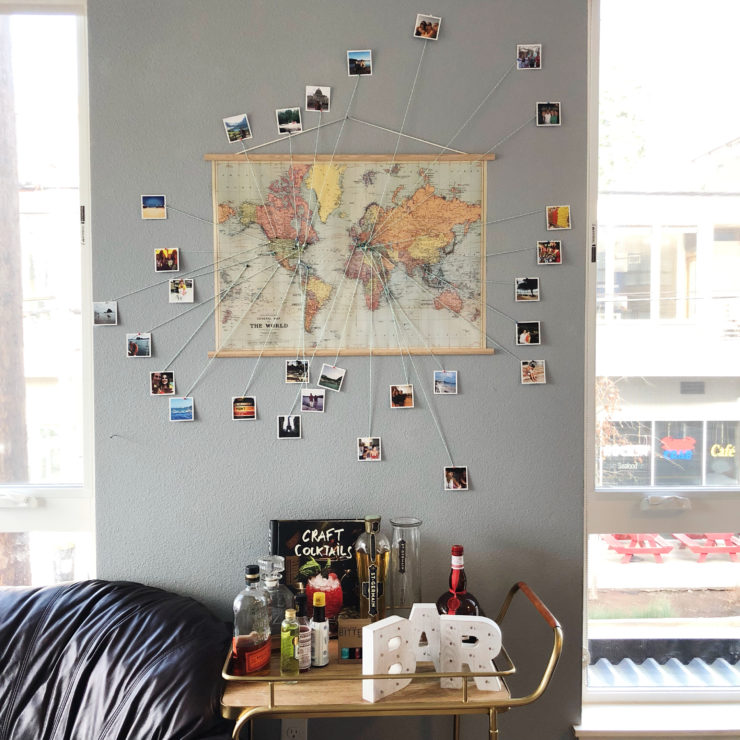
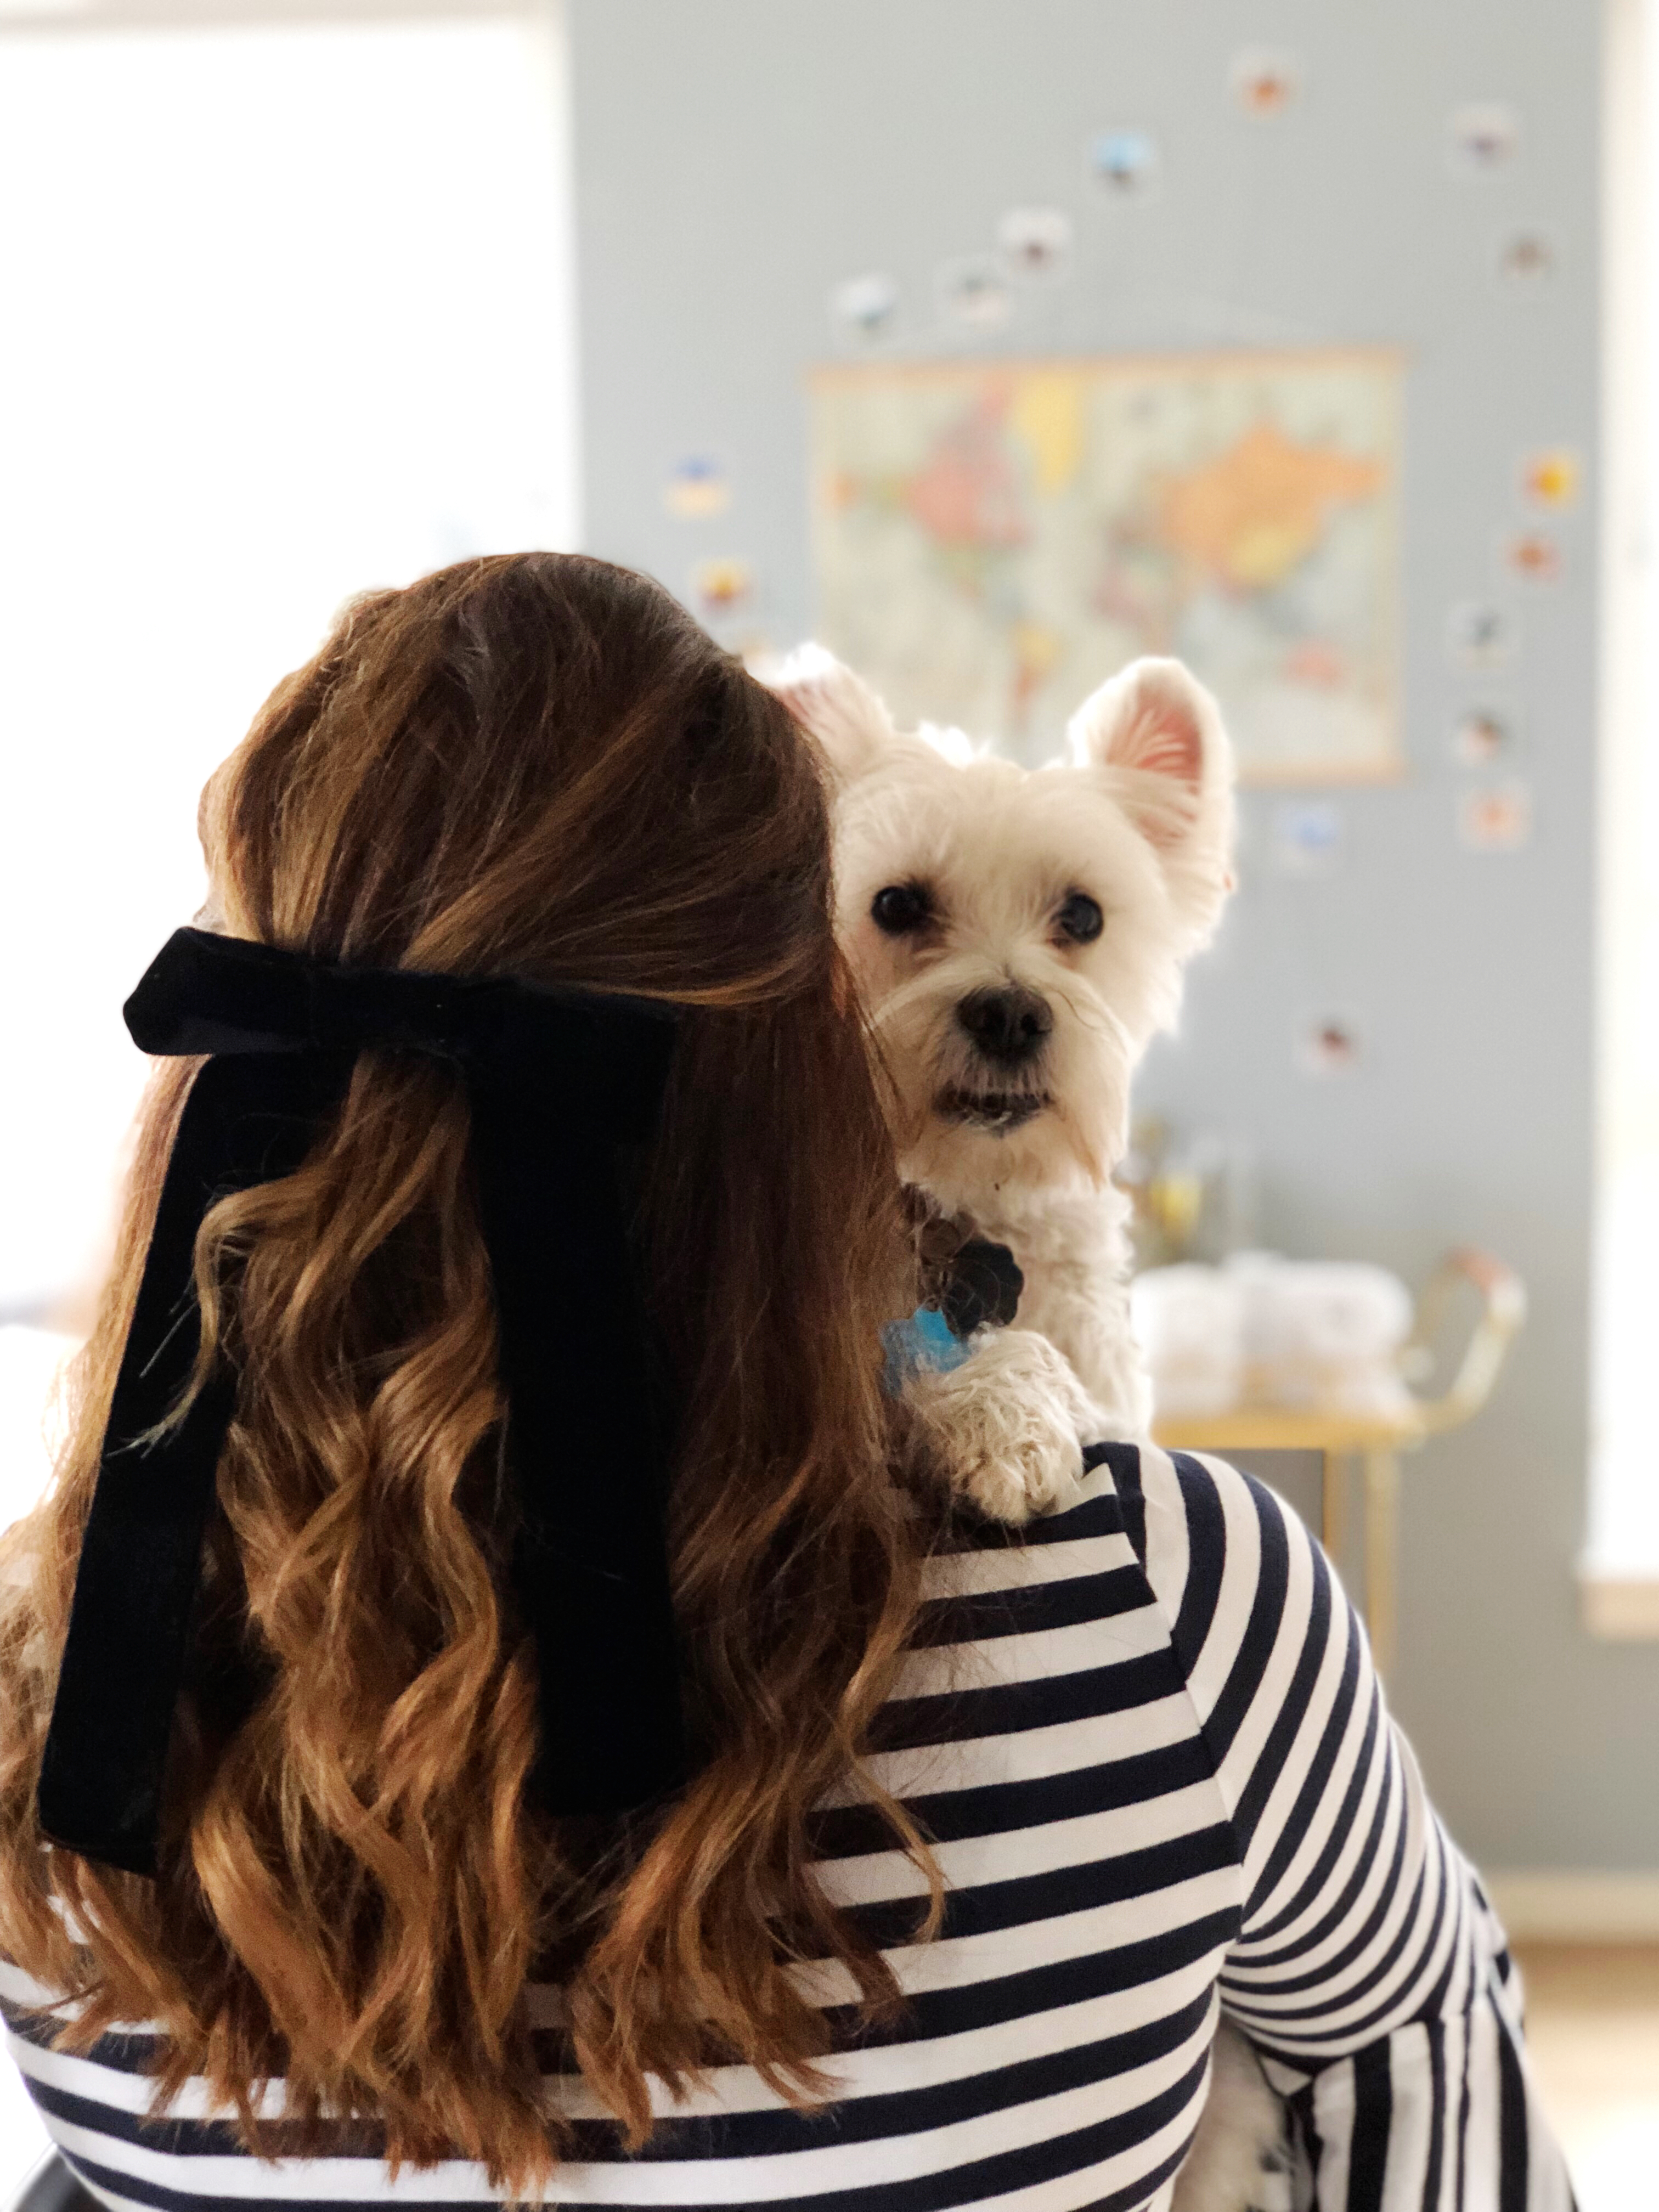
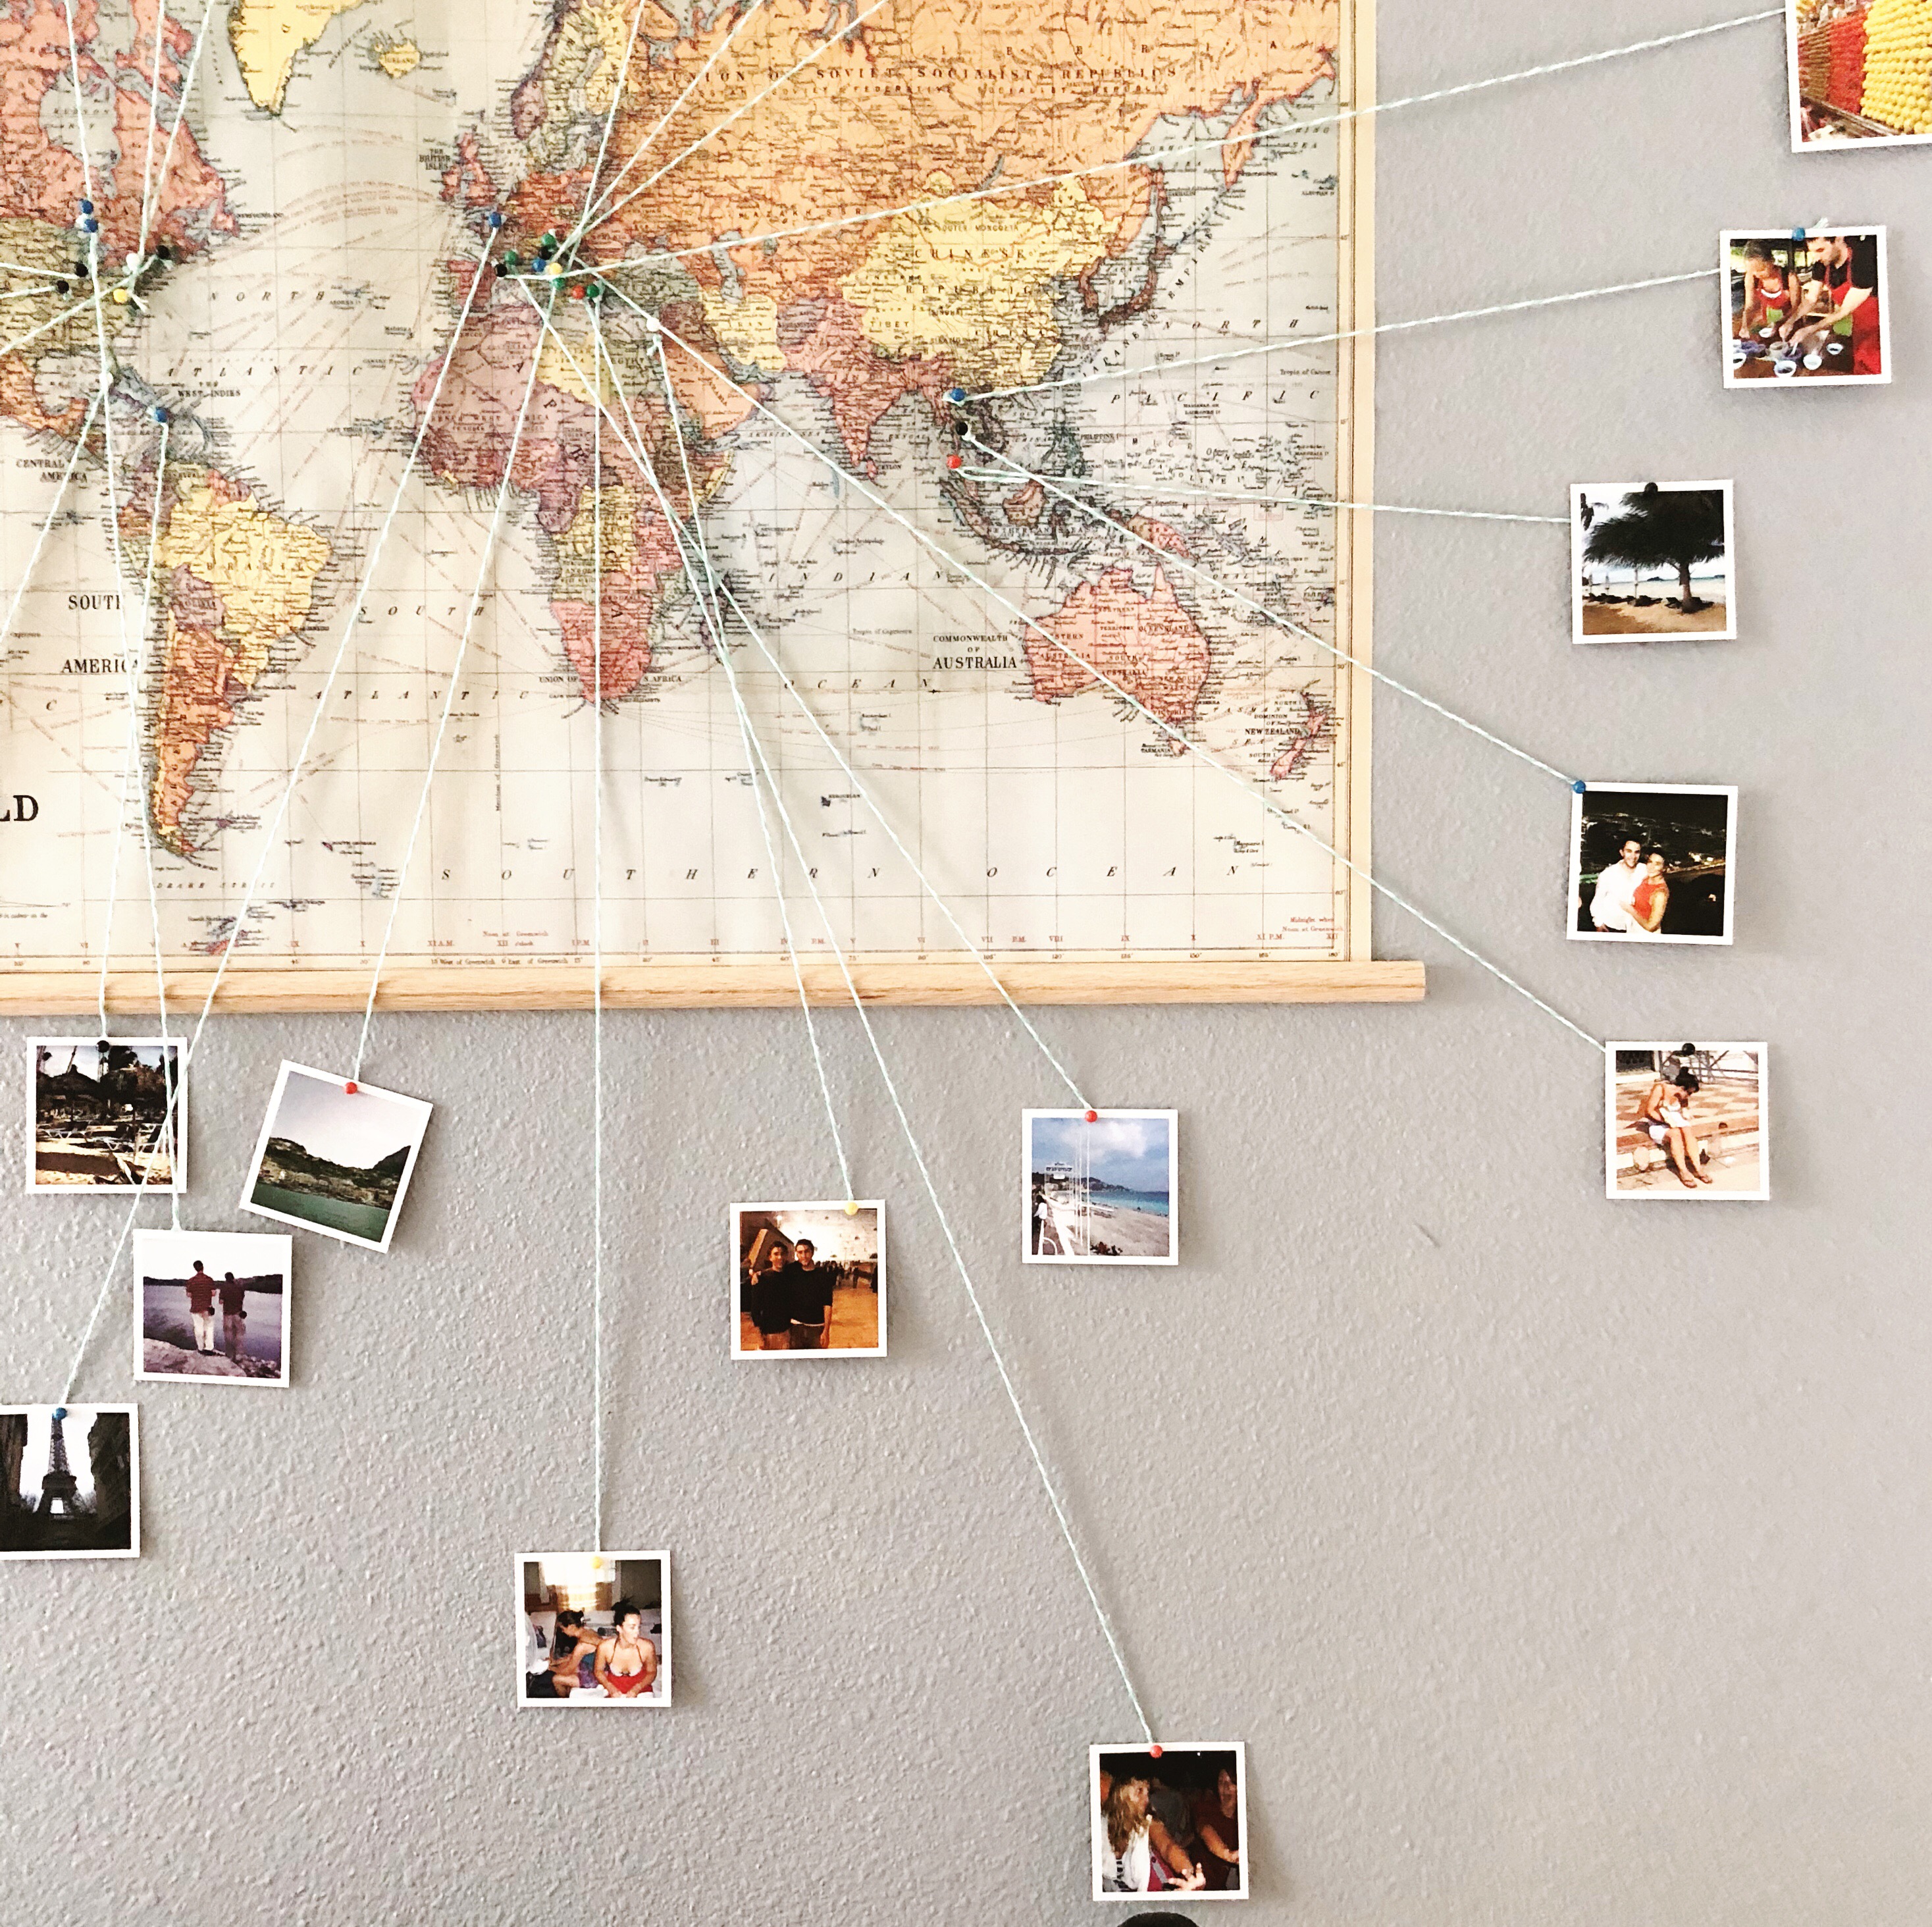
So when we first moved into our new apartment, I had been looking for a unique way to display our travel photos and came up with this DIY Photo Map. It’s incredibly easy for anyone to do, and friends visiting our house for the first time love it!
I also feel like it’s a reminder of the balance between gratitude and staying hungry. It constantly reminds me of how lucky I am to have explored all of these amazing places and how much more I have yet to see.
DIY Photo Map
What you need:
- a map (I used this)
- assorted push pins
- bakers twine (or any type of string)
- assorted photos
Optional: I wanted mine to be “framed” so I always bought this to attach to my map. It comes with everything you need to mount.
Make it!
First, we need to gather all our photos and get them printed out in the right size. I used Social Print Studio, and they did an awesome job for a reasonable price. I did the mini square size. You can get a set of 48 for $15 and because so many of my pictures were coming from Instagram, they don’t get distorted. 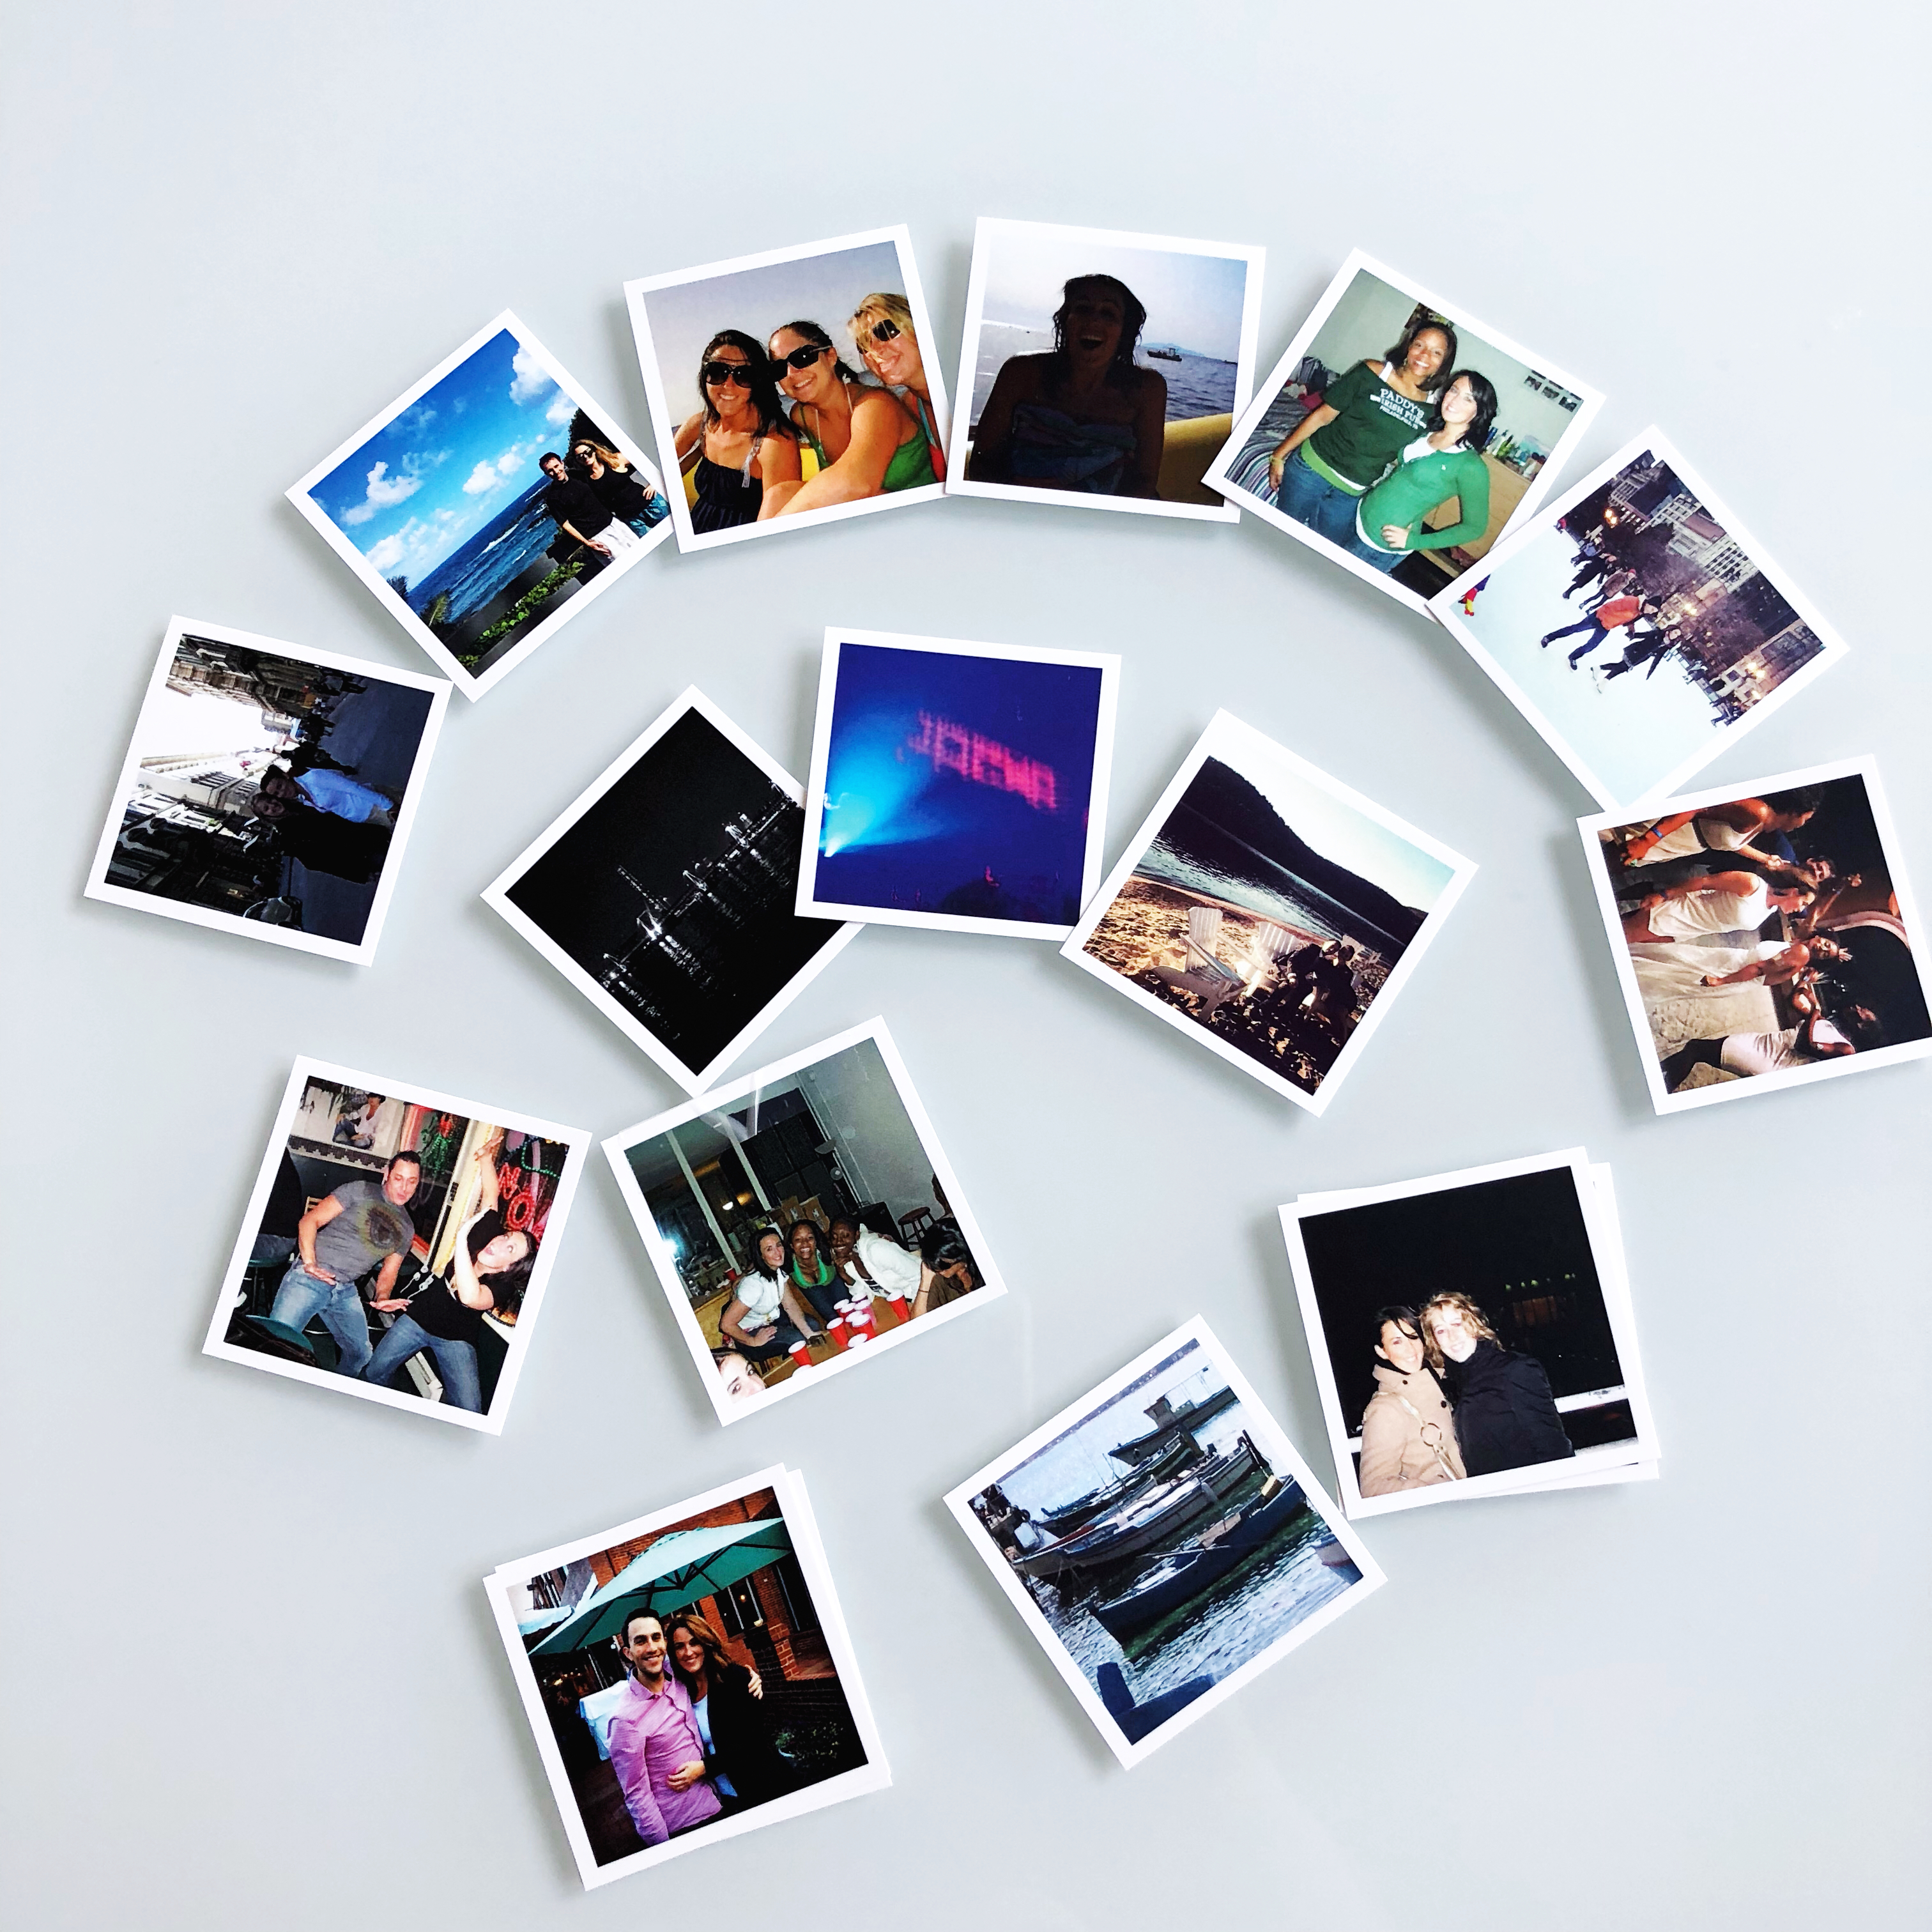
I chose to do one picture from every city for my DIY photo map, but this part is totally up to you. Whatever brings you joy, do it!
You’re going to need to cut various lengths of string depending on where you want your pictures to be displayed. I wanted a variety of lengths to create the web like feel. I cut them in three different lengths: 9″, 12″ and 16″. You’ll need one piece of twine for every picture.
Take the twine and tie a small double knot around one push pin. Trim the end. Drop the push pin in its desired location on map.
Tape or glue the other end of the twine to the back of the picture. Scotch tape worked just fine and has continued to hold up throughout the year.
Now pin the pic to your wall. Repeat and you have yourself some travel art!