With the constant dreariness of the Portland weather, I’m trying to channel spring and summer with a little tie dye action in this DIY Shibori Napkins tutorial.
Shibori has really taken a high-fashion turn in the past couple of years, with the likes of Stella McCartney and Proenza Schouler integrating pieces into their runway shows. More and more, I’ve seen it start to bleed into home goods world.
Ah, I LOVE the beautiful shades of blue adorning rustic furniture! Feels very Balearic.
I stumbled upon Rebecca Atwood’s gorgeous Shibori napkins in one of my magazines last month. But they can be a bit pricey at $45 a napkin.
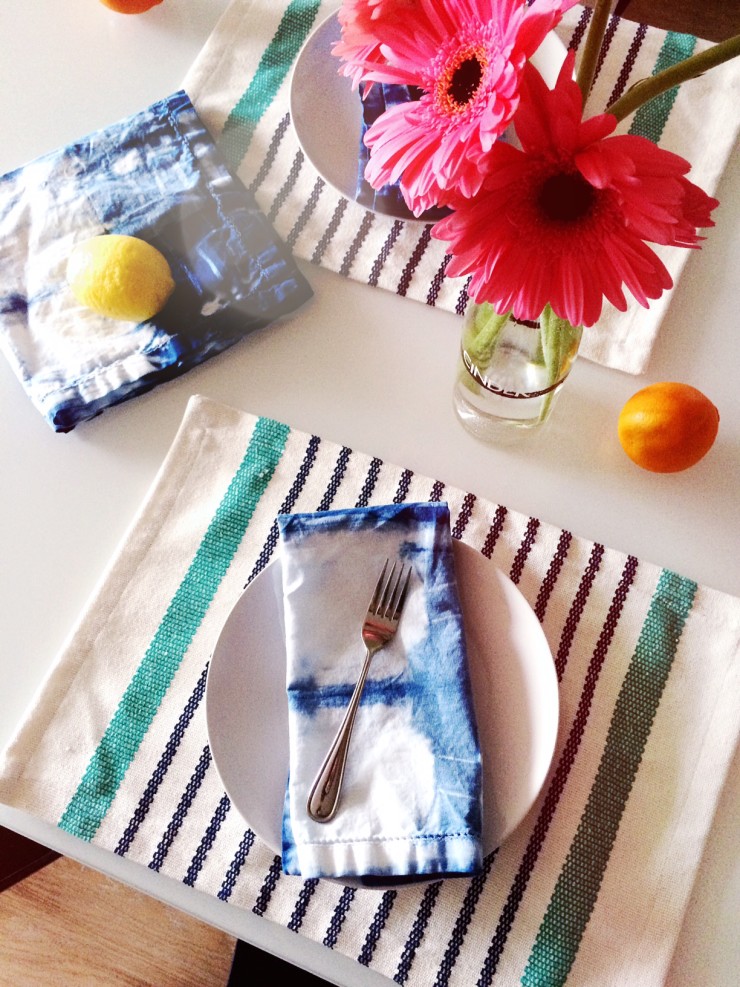
With the Easter festivities upon us, and many of you dreaming up elaborate tablescapes, I figured this would be a perfect time to try my hand at Shibori and beautify my space for under $20 total.
The ancient art is essentially wrapping and binding fabric that is then hand-dyed. The binding can be done in a number of different ways, each revealing unique patterns and shapes. Experiment!
DIY Shibori Napkins
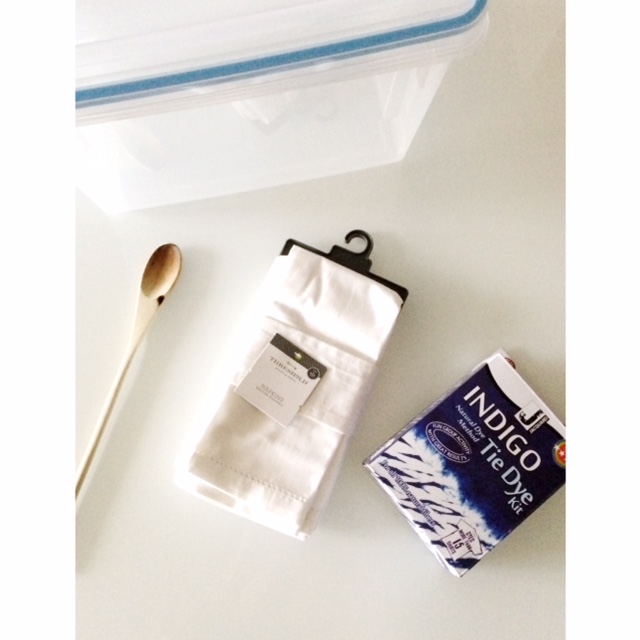
What you need:
- white napkins (cotton or linen work best)
- indigo tie dye kit
- 5 gallon bucket
- wooden stick
- gloves
Make it!
- Follow the instructions on your dye kit on how to prepare it. For mine, I filled the bucket with warm water, added the indigo dye and started stirring in one direction. I added the soda ash and reduction agent while still stirring.
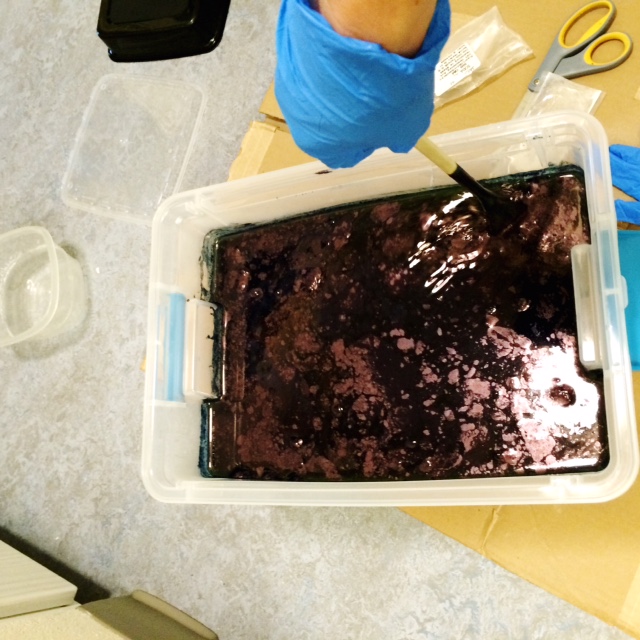
- Then, stir in the opposite direction.
- Once it’s mixed, cover and let sit for an hour. The dye is ready when there’s a frothy/oily film on top and the water below is a yellow-green color.
- While waiting for the dye, I bound my fabric. As I mentioned, this can be done infinite ways. With two of my napkins, I used legit, tried-and-true techniques; the others, I just played around and hoped for the best!
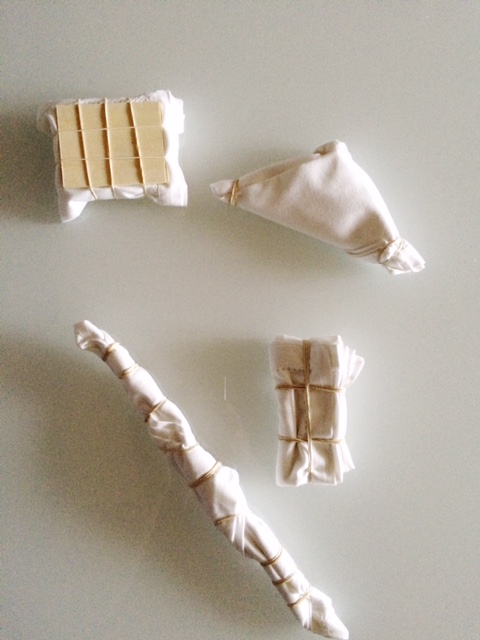
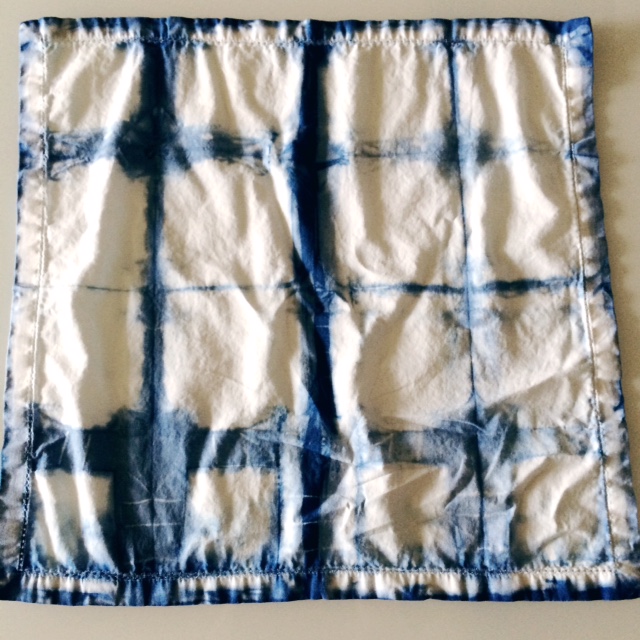
Windowpane Pattern
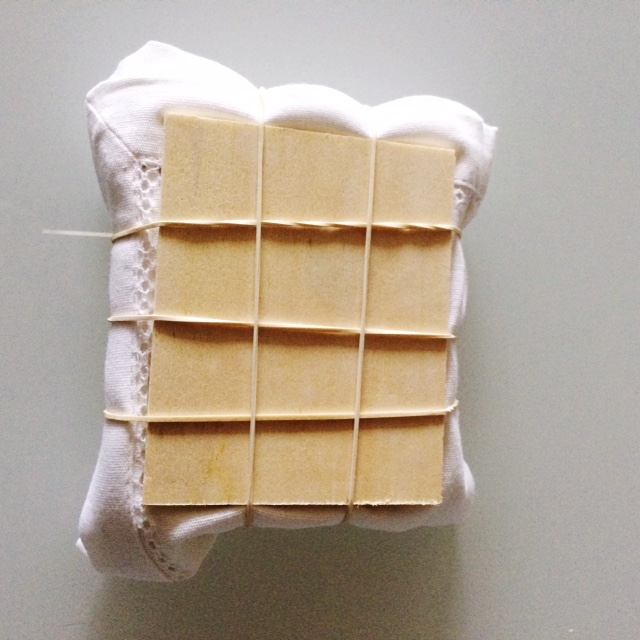
- Fold the napkin lengthwise like an accordion.
- Then, fold it accordion-style again, making a stacked fabric square.
- Place a wooden square piece or block (mine were included in the kit) on both sides of the fabric.
- Secure with rubber bands.
- TIP: the more white exposed around the edges, the bluer it will be afterwards. If you want more white and less blue, fold your square a little tighter.
Triangle Pattern


- Like the windowpane design, start by folding the napkin lengthwise like an accordion.
- Now instead of making a square, take the corner and fold it into small triangles, accordion style.
- Rubber band each corner of the triangle. Even the smallest rubber bands can block out a lot of the dye!
The Randoms
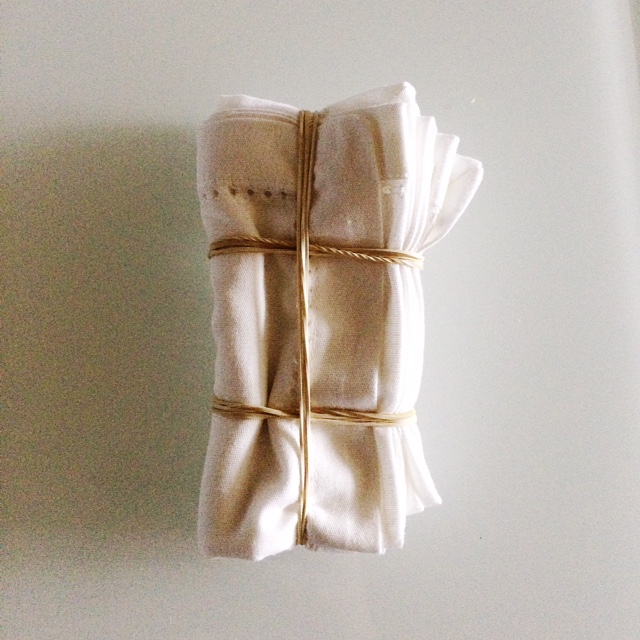
- This is almost exactly the same as the Windowpane design. Fold it the exact same way: lengthwise accordion-style, then into a square accordion-style.
- I left out the wooden blocks and wrapped it in rubber bands to allow a little more blue to come through.
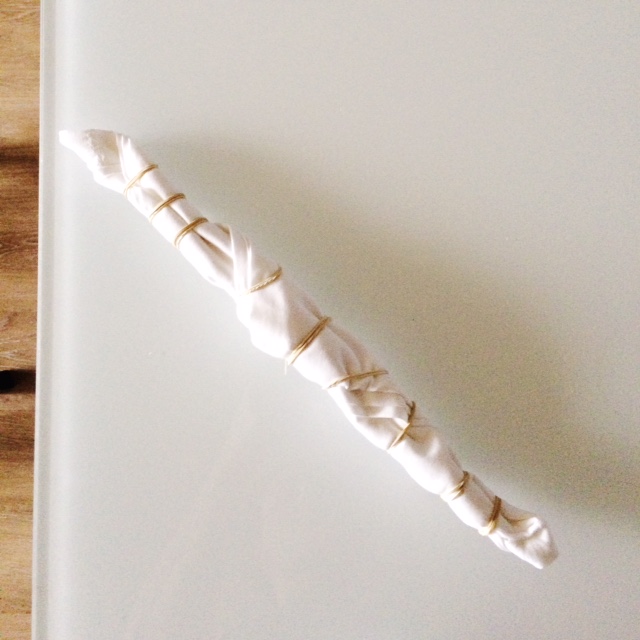
- Fold in half diagonally, making a big triangle.
- Starting with hypotenuse/ long side of the triangle, roll it up.
- Wrap in a random pattern of rubber bands.
You’re ready to dye!
- Rinse fabric and squeeze all the water out.
- Now, submerge the fabric in dye bucket. While holding it under the surface, gently squeeze the dye into the fabric.
- Continue this for about five minutes.
- Take fabric out of the bucket, squeezing any remaining dye out. It should be a yellow-green-y color. After a few minutes, it’ll turn bright blue as it starts to oxidize.
- Once you’ve done this with all your pieces, repeat the process. This will ensure you get a rich, bright blue hue.
- After dying, leave them overnight to dry.
- When they’re dry, cut off the rubber bands and rinse with clean water.
- Place in washing machine on cold cycle with no soap. Dry on low.

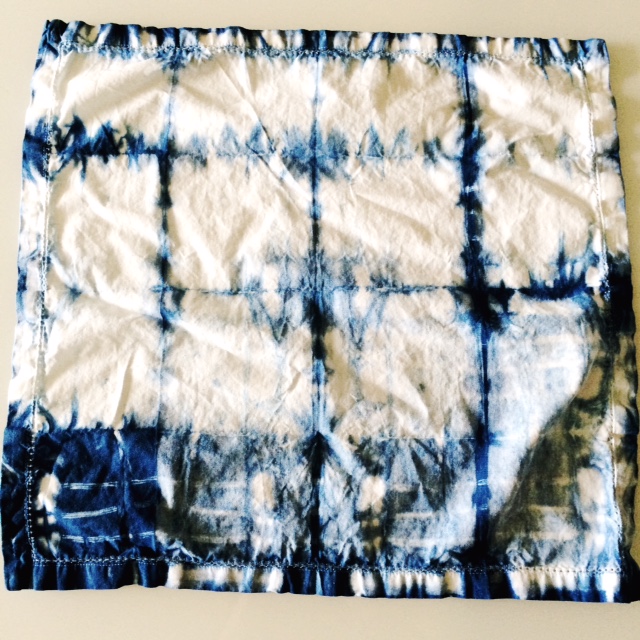
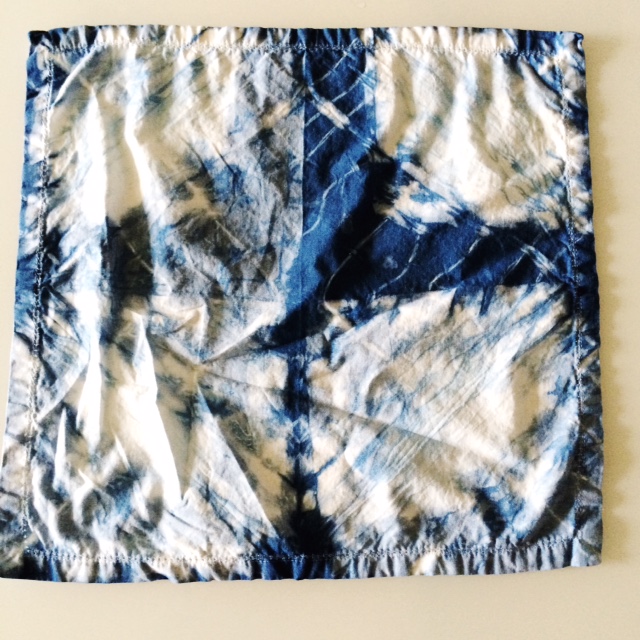
HELLO GORGEOUS!