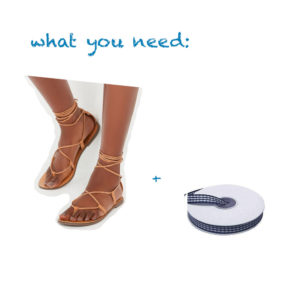
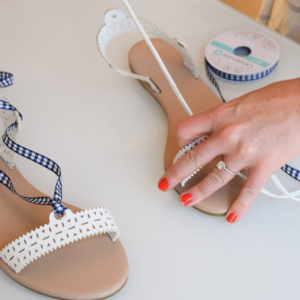
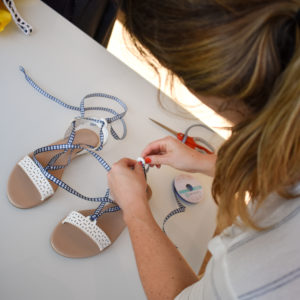
Hi friends! We’re getting down to the end of Gingham Week. Today, I’m sharing a quick and easy DIY to make a pair of gingham lace-up sandals. It is a great way to change up a pair of old ones you might have lying around from last season.
I made these shoes for a trip to Santa Barbara last year with my best friend. It was the perfect upgrade for some fun in the sun biking to the beach and to all of the city’s urban wineries!
All you need is a pair of sandals with a lace you can remove and some gingham ribbon. I used the 3/8″ size ribbon.
This DIY would be really cute with a pair of heels that have a removable lace. And the best part is you can always change them back out.
DIY Gingham Lace-Up Sandals
Sandal options: here // here // here
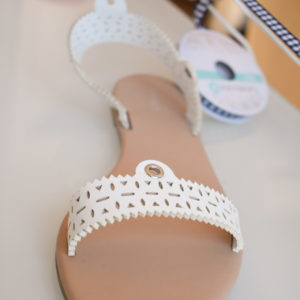
*The key with the sandals is finding a pair where the lace isn’t attached to the shoe, just threaded through. This will enable you to just exchange it with the gingham ribbon.
Make it!
Remove the existing lace and cut a two foot long piece of ribbon. Fold the ribbon in half.
Now you need to figure out where to attach the ribbon to the shoe. This will depend on your sandals. For me, there was a hole in the middle that made sense for me to start the lace-up. For you, it might be in the back or even on the side.
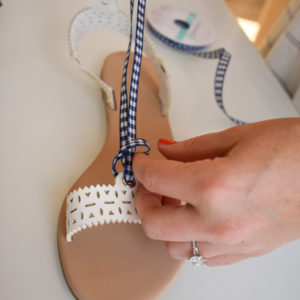
Pull the center part of the ribbon through that point. Make a loop and thread the tail of the ribbon through the loop, making a knot.
From there, thread the ribbon through the remaining holes and repeat with the other shoe.
In case you missed it: here’s where you can find the best gingham skirts around, the best gingham shoes and yesterday I rounded up the best gingham dresses all under $150.

